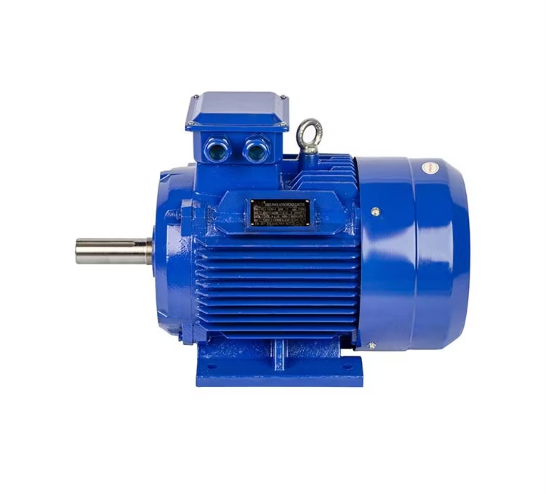
The diagnosis of a 3-phase motor should be done by checking at the supply for balanced voltage, checking on wiring for any damage, checking voltage at the terminals, verifying connections, examining the fuses, assessing motor load, and listening for unusual noises that may indicate issues with bearing wear and/or misalignment.
Check Power Supply
Troubleshooting of a three-phase electric motor should always commence with the power supply, since performance is highly dependent on balance and consistency in voltage across the three phases. Thus, three-phase systems are designed to provide consistent power, and any type of interruption or imbalance within this can be considered a point of failure for the motor or erratic operation, including overheating.
Using a digital multimeter, one would measure the voltage between each of the three phases: L1 and L2, L2 and L3, and finally L1 and L3. One could typically expect 400 or 480V in most three-phase applications, depending on your geographical area and/or industrial application. More than a 5% fluctuation would then raise a red flag in any one or more phases. For example, while the voltage could be expected to be 440V, if one phase were to read 410V and the others close to 440V, that would be sufficient to cause the motor inefficiencies and operating temperatures to rise to levels at which it could prematurely fail.
If you detect a voltage unbalance, this may indicate problems either with the incoming power supply from the utility company or within your facility’s electrical distribution system. The possible causes in this respect are loose connections, defective cables, and faulty transformers. Voltage imbalance more than 2% generates an unequal sharing of current that overheats the motor windings. Motors running at these conditions are likely to deteriorate at a faster rate; the worst-case scenario may be the failure of insulation. In reality, even an imbalance of 1-2% may result in degradation of motor efficiency up to 10-15%.
When you have established a steady and proper voltage supply on all phases, ensure also transient spikes or sags in voltage. The surges and sags in voltage will result in overheating or stall conditions of the motor, leading to breakdowns over time. If you suspect any irregularity in the power supply, use a power quality analyzer since it can capture the transient events that might not be detected by a multimeter.
Inspect Wiring
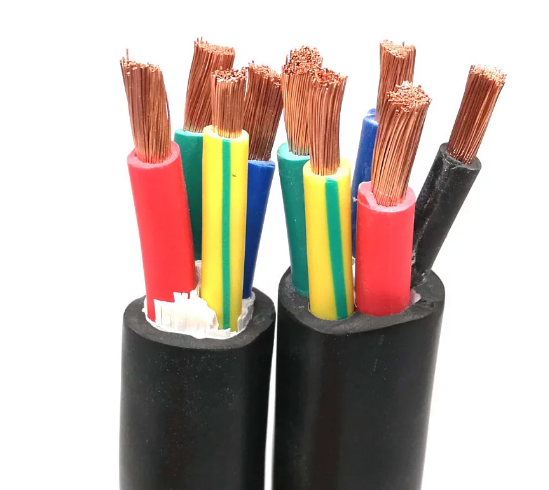
Wiring is one of the most important components of an electrical system, and therefore, in the case of a three-phase motor, wiring should be in the best condition to ensure safe and reliable operation. In service, wires deteriorate in a number of ways, including heat, vibration, and generally due to moisture exposure and even chemical interaction. Inspect the wiring, taking the power off before opening the motor terminal box. Safety precautions must be followed in order not to get electric shock or accidental motor start-up.
Visually inspect the condition of all wires. Try to find signs of damage to the wires, such as fraying, discoloration, or even an odor of burns from overheating. Poorly insulated cables can cause a short circuit or even a ground fault that could result in failure of the motor or perhaps electrical fires. If these wires appear damaged, they should be replaced immediately.
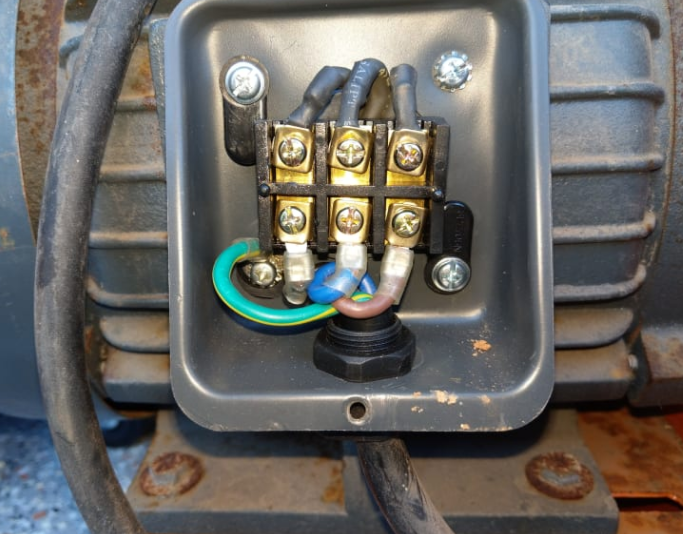
Another important factor to check is the tightness of all connections. The mechanical vibrations from operation have a loosening effect on the terminal connections due to the motor operating time and create conditions for arcing, heating due to increased resistance. Poor connections cause uneven voltage supply to the motor, creating not only bad operating conditions but also a serious safety hazard. Make sure that all the terminal screws are properly tightened, with no signs of corrosion at either the terminals or wire lugs.
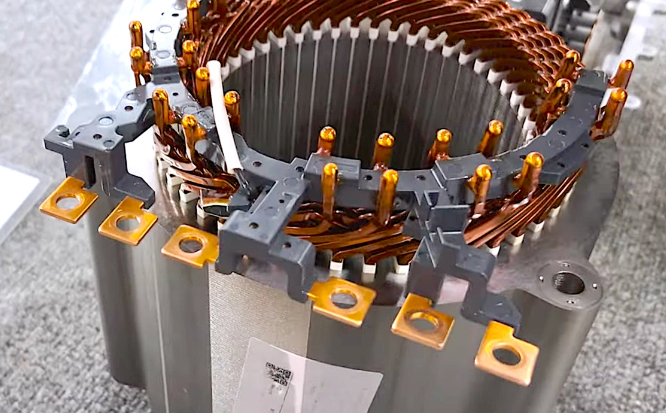
Aside from ocular inspection, one may carry out an insulation resistance test using a megger to check for the breakdown of insulation. This test runs a high voltage across the motor windings and measures the resistance between them and the casing of the motor (ground). Ideally, the insulation resistance should be greater than 1 megohm. If the reading is below this value threshold, it means that insulation has been compromised, therefore being at risk of electrical short circuits. In this case, the motor will need to either be rewound or replaced.

Test Voltage
After having ascertained that the wiring is in good condition, you would then test the voltage at the terminals of the motor. This step is important because you will know if the voltage at the motor is appropriate and balanced across all three phases.
Measure the voltage between each of the motor terminals with a digital voltmeter or multimeter: L1 to L2, L2 to L3, and L1 to L3. You should, at best, see the same voltage across each phase, usually 400V or 480V on your system. An imbalance of more than 2-3% will lead to inefficient running of the motor with excessive heat generation and vibration. The effect of even minor voltage deviations could be an increase in overheating possibilities or early winding insulation failure of the motor.
It’s also very important to take a voltage measurement under load. Sometimes, the voltage may appear good while the motor is at rest, but during operation, the voltage may sag since the power supply is not good enough or the circuits are overloaded. A severe voltage drop under load means one of two things: either the motor pulls more current than what it has been rated for, or the power distribution system is inadequate. Neither is desirable and needs to be corrected immediately.
This condition affects not only the performance of motors but also cuts their life expectancy. A voltage unbalance in excess of 2% may result in a rise of 10°C or greater, thus drastically reducing the life expectancy of the motor windings. If left unchecked, this may lead to permanent damage.
Verify Connections
Ensuring the integrity of electrical connections to the motor is critical to prevent long-term damage to the motor and related equipment. A loose, corroded, or improperly set connection will have current flowing irregularly; this causes erratic performance, overheating, or failure of the motor.
Inspect the motor terminal connections. These are normally found in the terminal box of the motor. Those that are loose need to be tightened, and there should not be any indication of arcing or corrosion. Clean the terminals and apply an anti-corrosion agent if there is corrosion. It is important to recognize that loose or corroded connections are noted for their capability to create high resistance points within the circuit and, therefore, can promote overheating and losses of power.
Other common causes of problems include improper wiring configurations, especially with older systems or motors that have been rewired a number of times. Consult the nameplate or wiring diagram of the motor to check that each wire is properly connected according to the manufacturer’s specifications. Improper wiring of the motor may cause it to run in reverse, act erratically, or not start at all. If the motor is set up for multiple voltages—like being able to run at 230V or 460V—make sure to select the appropriate configuration and wire it appropriately.
Examine Fuses
Blown fuses are the most common causes of a motor malfunction, especially in industries where motors need to run for extended periods of time or handle large loads. If the motor does not start or suddenly stops working, then checking the fuses should be one of your first troubleshooting steps.
Find out where the control panel or fuse box for the motor circuit is. Pull the fuses out and use a multimeter to check for continuity between each one. If the fuse has blown, no continuity will be found on the multimeter, since it is no longer conducting current. Replace any blown fuses with new ones having the same rating.
However, it has to be emphasized that fuses do not blow without a reason. Finding a blown fuse should give the hint of finding the cause. The motor could be drawing too much current due to an overload condition or possibly a short circuit within the windings. Recurring fuse failures may be due to persisting electrical problems that need checking: overloaded circuits, a failing motor, or some problem in the power supply.
Where circuit breakers are used instead of fuses, the same check may be made. Circuit breakers will trip from overloads or short circuits, and unless the cause of the trouble is found and corrected, the breaker will continue to trip every time it is reset.
Check Motor Load
Another critical factor in troubleshooting is motor load. Applications are designed to operate within a particular load range as specified on the motor nameplate. Operation outside the specified optimum range—essentially overload—operates the motor in a current draw condition higher than what the motor is rated for, causing overheating, undue wear, and eventual failure of windings.
Measure the current drawn by a properly operating motor. Make this measurement using an ammeter, comparing it with the full-load current on the motor nameplate. If the measured current is greater than the amount on the nameplate, the motor is probably overloaded. You may want to try to reduce the load, either by reducing the work that the motor is doing or by installing a higher-capacity motor.
In conveyor systems, an overloaded condition can be because of excessive material being conveyed—a reduction in load would be in order or a more torque-capable motor. Likewise, in fans and pumps, overloading may be because of obstruction, increased friction, or ill-calibration of equipment. Then again, the relieving of the motor may be done by reducing the load or serving some maintenance on the driven equipment. This helps the motor operate much more efficiently and prolongs its life.
Prolonged running of the motor at or over-rated capacity will result in serious damage. Motors susceptible to overload have a tendency to overheat, and this rapidly deteriorates the winding insulation and finally results in some form of short circuits and subsequent motor failure. For good health and performance, it requires monitoring and management of the load on the motor.
Listen for Noise
One of the best ways to troubleshoot motors is by listening for unusual noises during operation. While it is normal for a motor to emit some level of noise, abnormal noises like grinding, squealing, and rattling indicate serious mechanical or electrical issues that must be resolved immediately.
Grinding noises are often indicative of worn-out or damaged bearings. In any motor, it is an extremely important component in terms of ensuring that its operation and performance are always smooth. With time, they may degrade due to friction, improper lubrication, or even contamination. Rotor misalignment or even a complete failure of the motor might be caused by the failure of the bearings, especially if it remains unchecked for a certain period of time. Quite often, this can be fixed just by replacing the bearings or re-greasing them according to specifications given by a manufacturer.
Squealing sounds may be indicative of ill-fitted belts or poorly mounted mechanical appliances on the outside. If the belts are fitted too loosely, they are liable to slip, with further deterioration of the motor’s life. The wrong tensioning of the drive belts can lead to its inefficiency in running and may even result in overload conditions of the motor. Have the belts checked for their tension and adjusted accordingly, as this condition might get worse.
Rattling sounds usually mean there are loose pieces inside the motor housing. This could be due to loose windings, bolts, or internal parts which may have shaken loose over a period of time. Operation of a motor with loose internal parts could result in serious damage; hence, this condition should be corrected as soon as possible. This can be fixed by disassembling the motor for closer inspection and tightening any loose parts.
Prolonged humming or buzzing noises could indicate winding or power supply problems. The motor or loose laminations might also cause these noises due to magnetically-induced core vibrations. If such noises persist, the motor might need professional repair or rewinding to correct some internal electrical problems.
